Orbify empowers users with a range of customizable settings. However, understanding and configuring these settings effectively is essential for maximizing Orbify's utility. In this guide, we'll embark on a detailed exploration of how to configure Orbify's settings with precision and proficiency.
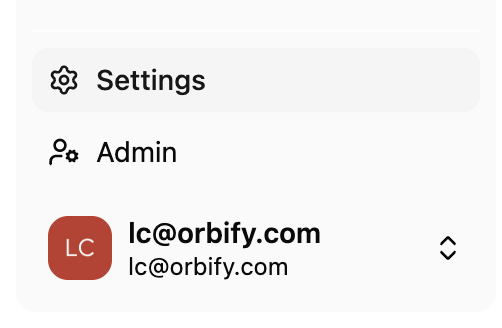
Find the Settings section.
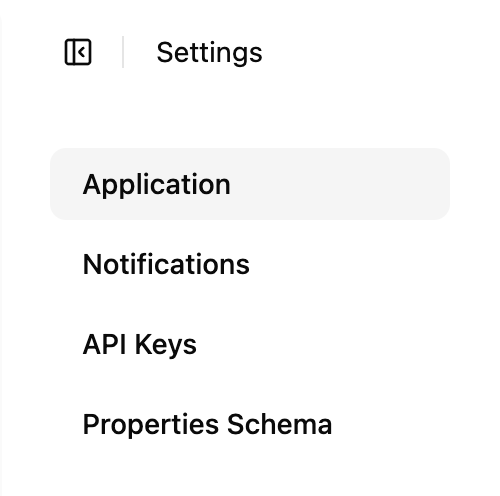
Locate the "Application" section to access pertinent settings and configurations.
In Orbify, customization is key to tailoring your experience. With two main categories of settings - General and Platform settings - you have the flexibility to fine-tune your Orbify environment to suit your specific needs and preferences.
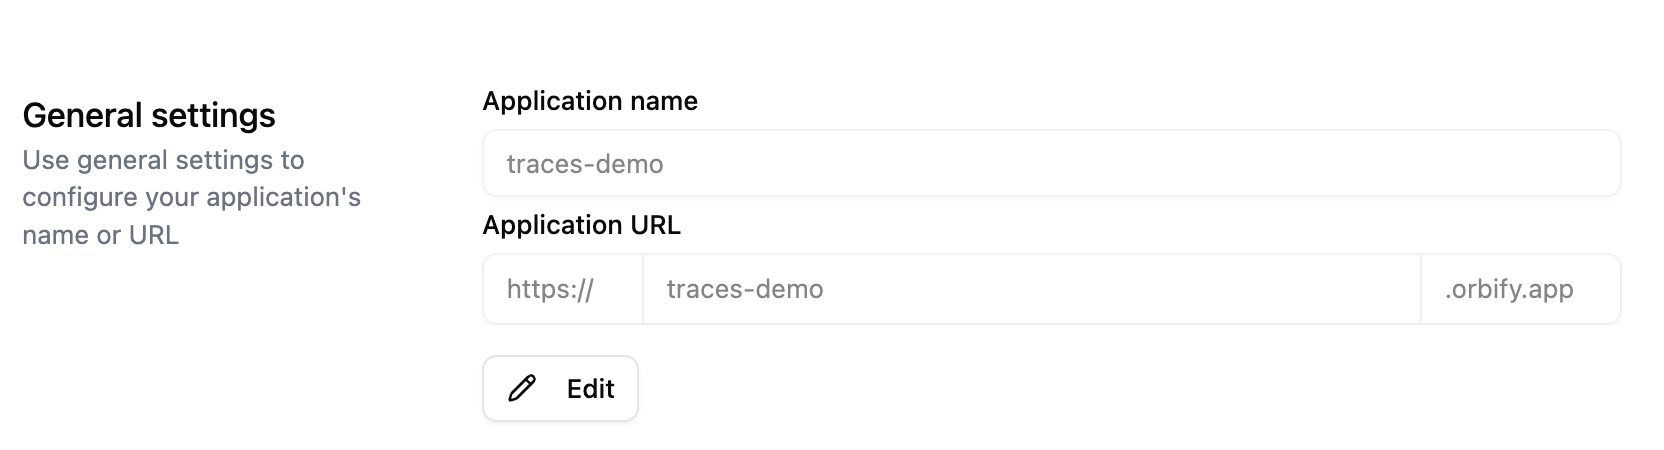
The General Settings section serves as the cornerstone for customizing essential aspects of your application's identity. Here, you can effortlessly configure key details such as the application's name or URL.
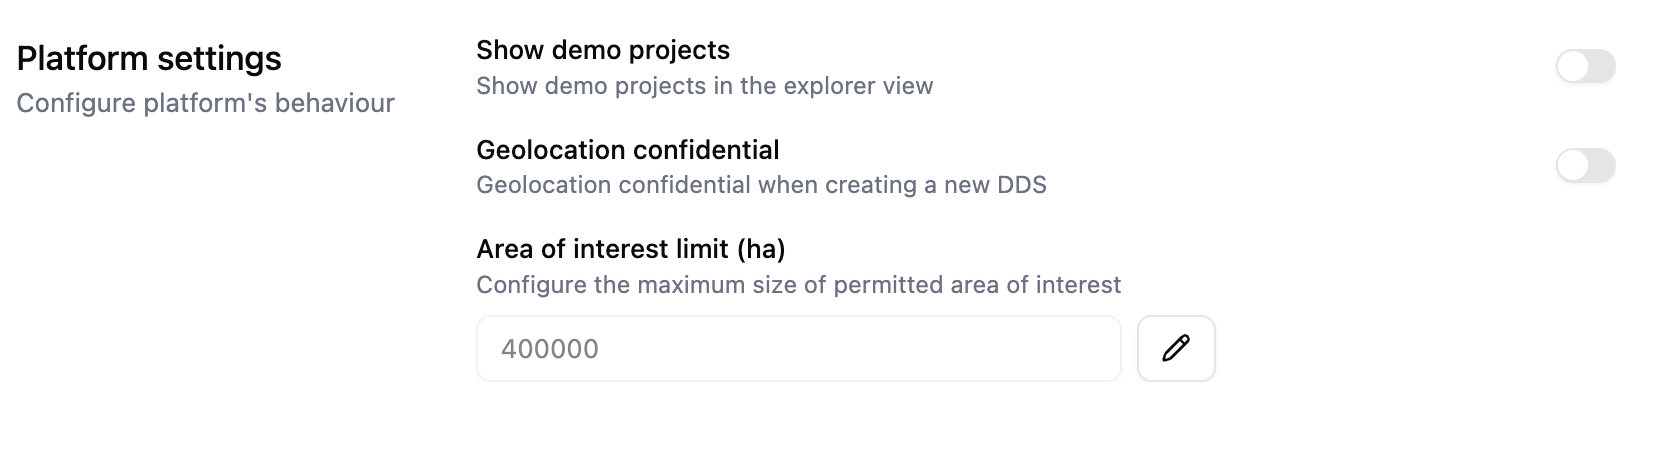
Platform Settings serve as the control center for tailoring the behavior of your platform to suit your specific needs. Here, you can fine-tune various aspects of platform functionality. Users can toggle the visibility of demo projects directly from the main dashboard, set a maximum hectare size for areas of interest to maintain precise control over data management and resource allocation, and choose whether to keep geolocation confidential when creating a new DDS.
Orbify offers you plenty of configuration options allowing you to align with your unique workflows and objectives: you have the flexibility to optimize every aspect of your Orbify experience! With the ability to fine-tune settings to your precise specifications, you can unlock the full potential of Orbify, transforming it into a powerful ally in achieving your goals.
